But I do need bread. And I love homemade bread!
Several years ago, the New York Times printed a recipe for no-knead bread. I dutifully clipped it (which, now means copy-and-pasted it into a Word document) and set it aside for a rainy day.
Flash forward several years and I still hadn’t made it. And I honestly don’t know what made me get out the recipe this winter, but I am sure glad I did. It is wonderful and has revolutionized our lives. We now have homemade bread frequently and I think nothing of setting the sponge in the morning for dinner in the evening.
The funny thing is that in my electronic files I have no fewer than five versions of this recipe sent from friends and relations (and the NY Times) and I have NO idea which one is the original. And not one of them is the same. The rising time, ingredients and method are different for each version. Go figure. They all claim to be the NY Times recipe. So this seems to be the bread recipe version of Chicken Little.
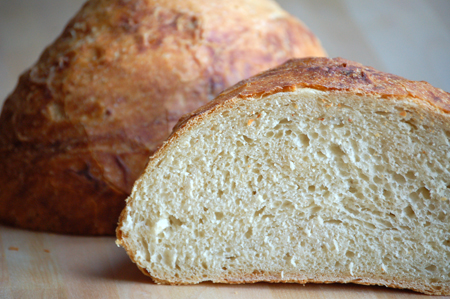
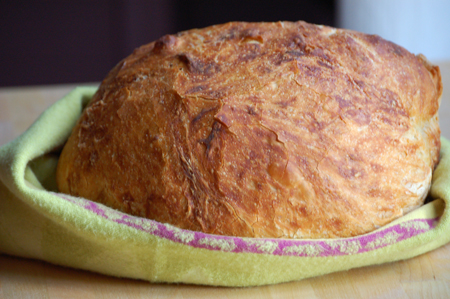
When five versions just aren’t enough, I simply add a sixth – my own. Mine isn’t radically different but I did make my own mark in a few ways and really simplified the recipe as much as possible. It ends in a bread that is the closest to my mother’s French bread in crust and crumb that I have had in over 25 years. The method is nothing like hers but that doesn’t bother me at all. I love the flavor and the texture – perfect with a good stew or soup. And nothing tastes better than a slice of oven-fresh bread slathered with fresh, creamy butter.
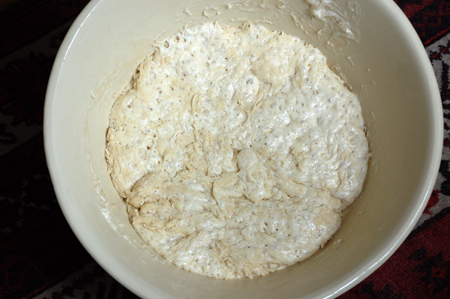
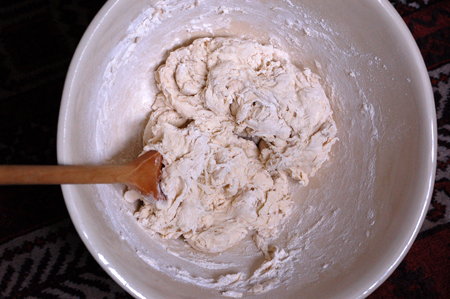
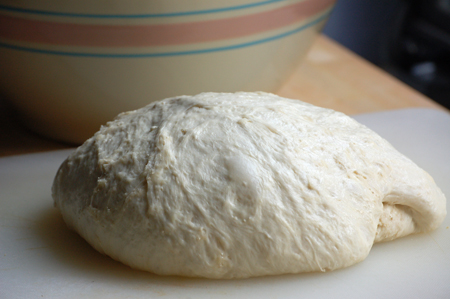
While Doreen was visiting a couple of weeks ago, she asked if she could try the bread. Why not? So I set the sponge (which is really a shaggy, unattractive dough and resembles nothing of a sponge when you put it together) and heated the oven for a few moments then turned it off. I covered the sponge and put it in the 70°F oven for the day. This was my mother’s trick (and I am sure yours or your mother’s/father’s as well) – use the oven as a draft-free place to dough rise.
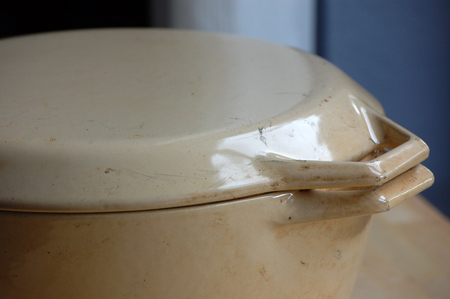
A warning. If you decide you want to bake something else, as I did that day with Doreen, you must remember to take out the sponge and transfer it to the microwave first! Need I say more? The good news is that it is so easy to set another sponge. The bad news? Once you par-bake the sponge it is ridiculously hard to get the bowl clean! (Had I not noticed my error until too late, I might have gone to Barrio Bread, recommended by friends Bill and Lee!)
This past weekend, Mark’s cousin Cathy and her partner Heather were visiting and we decided for homemade pasta on Sunday evening. I wanted to show them the food processor recipe for the pasta dough, but also decided to bake them some bread to go with it.
We ended up with leftover bread for our morning toast – it makes the best toast! So, a toast to toast – and bread! – from me (and the NY Times… sort of…).
Slather away!
~ David
Developed and maintained by Inspiratech LLC.
Design by Themeshift.


Susan
March 25, 2012 at 2:15 amIt is bitterly cold and raining hard here in Ocean Grove on "the Jersey Shore." I would surrender my thick wool socks for a piece of that luscious bread! It sounds like a very forgiving recipe, another reason to try it soon. Thanks for another top-notch post with lovely photos! And I LOVED your title (again!).
Anonymous
March 25, 2012 at 1:31 pmHow funny! I cut this one out too, it hangs dog-eared and yellowed on the side of the fridge that faces my baker's rack (and thus the baking area of my pantry). And I guess cooks think alike, because I have changed the original (whatever that was) to pretty much exactly what you did! This is my GO TO bread recipe (my mom's too). I like to make it in my baguette pan, and have added lots of stuff over the years — semolina flour, sultanas and fennel, rosemary and lemon zest, olives, even made a yummy cinnamon raisin. It's the best! 🙂 K
Anna @ The Littlest Anchovy
March 26, 2012 at 12:58 pmOoh I have wanted to make this for ages. You have inspired me. I particularly love the tip for leaving the dough in the oven to rise…
Now I am excited at the prospect of easy, freshly baked bread this week!
Cocoa & Lavender
March 26, 2012 at 1:57 pmSusan – this bread would be perfect on one of those chilly, rainy beach days! Let me know what you think when you make it. Glad you enjoyed the title, too!
Karin – I knew this would be familiar to you – such an amazing bread and I love all the variations you have made.
Anna – as you come into your autumn and winter, I can imagine you will want to make this often. We found ourselves making it all the time last winter.
Anh
March 30, 2012 at 5:44 amI miss home-made bread! I have not baked much lately, but when I start again, this will be on my list.
Cocoa & Lavender
March 30, 2012 at 1:46 pmYou are coming into a good time of year for home-baked bread, Anh! I hope you enjoy it!
madelief
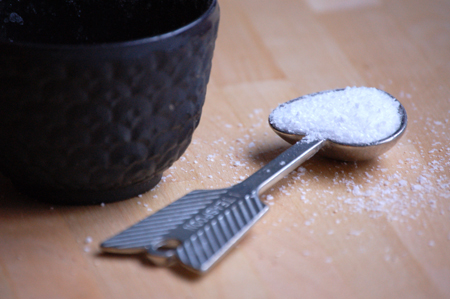
April 1, 2012 at 8:50 amMmmmmm… love it when it's this easy and this tasty! I made this bread today but it came out seriously salty, realise now that NZ 'bread mix' already has salt in it! Still very nice with loads of thinly sliced juicy tomatoes. Next time won't add salt though!
Cocoa & Lavender
April 1, 2012 at 2:27 pmWow – I didn't know that about NZ 'bread mix' – something I can keep in mind for future posts! I have never seen anything like that in the U.S. Glad you liked the recipe anyway!
madelief
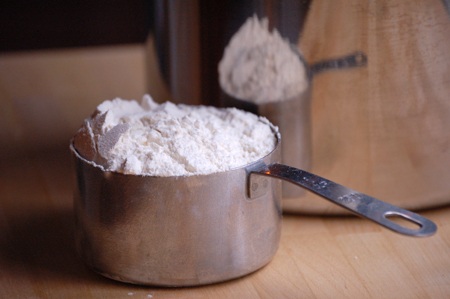
April 9, 2012 at 7:36 amthat's fair enough too – who wóuld think of that, it never crossed my mind to check the pack of mix either. I am baking this bread again tonight (no added salt!) and am in hot pursuit of proper bread flour, I think it will taste even better once I use that. awesome recipe thanks for sharing it.
Tracy
April 11, 2012 at 9:28 amDo you think this would work with white whole wheat flour?
Cocoa & Lavender
April 11, 2012 at 12:47 pmTracy – it might well work with white whole wheat – it might be denser but that also might be nice. I will try it someday and will report back!